Blender Material Nodes: Build a Library of Realistic Materials
Create realistic materials and the reusable node tools to make more.
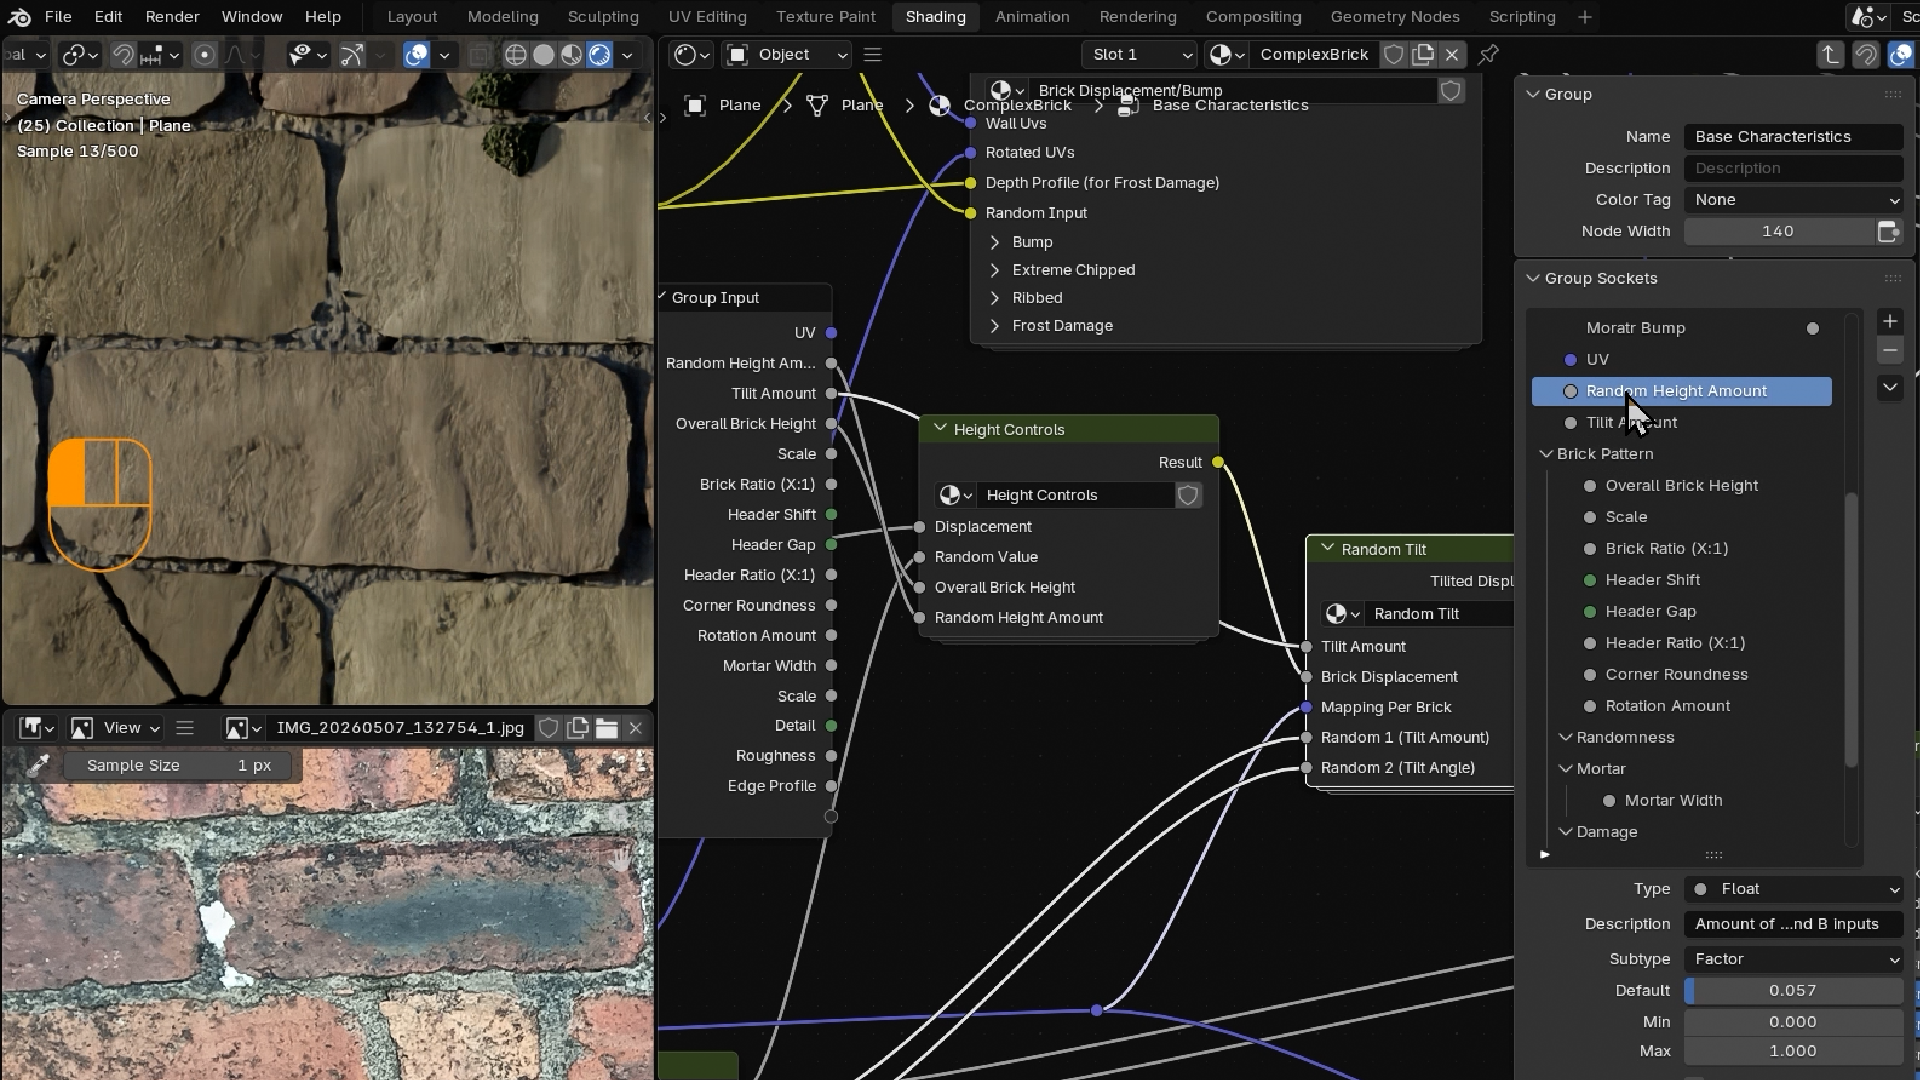
From First Node to Weathered Brick
Make Your Renders Look Real
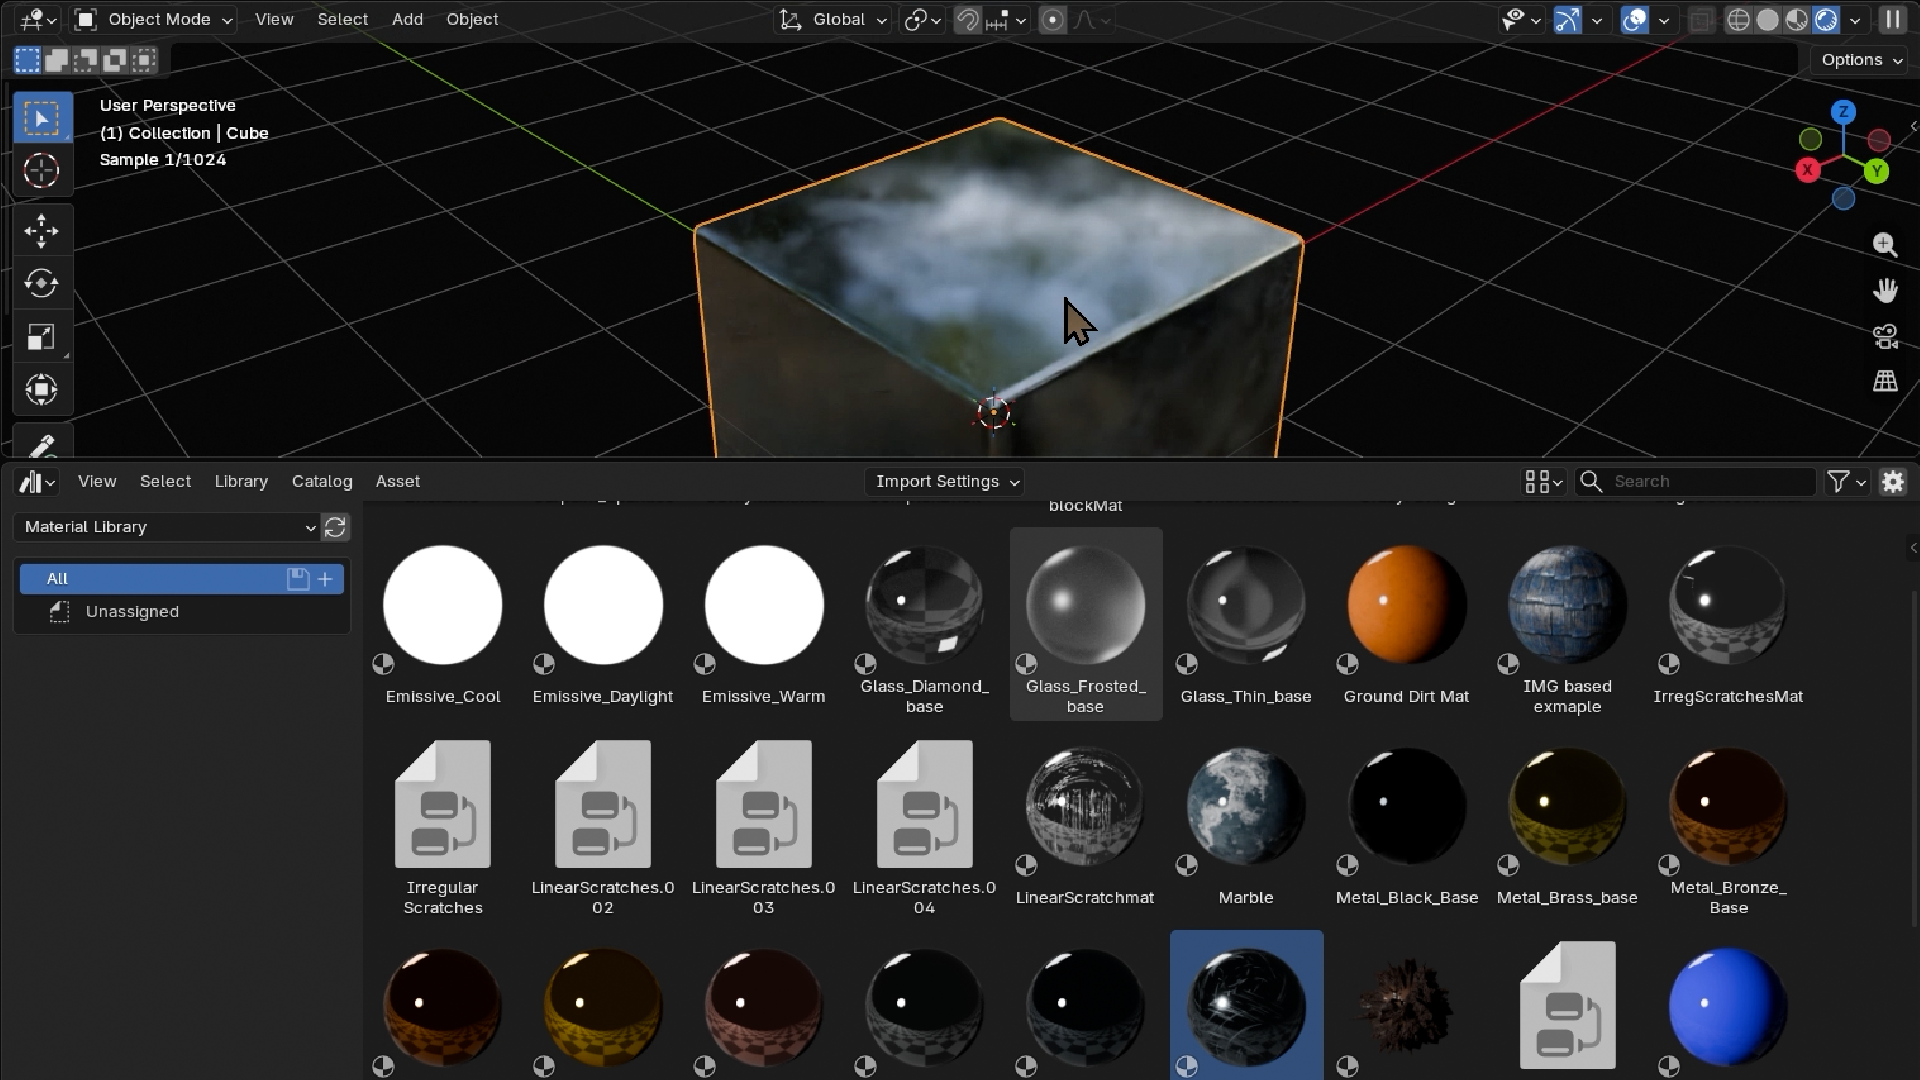
Perfectly clean surfaces rarely exist in the real world.
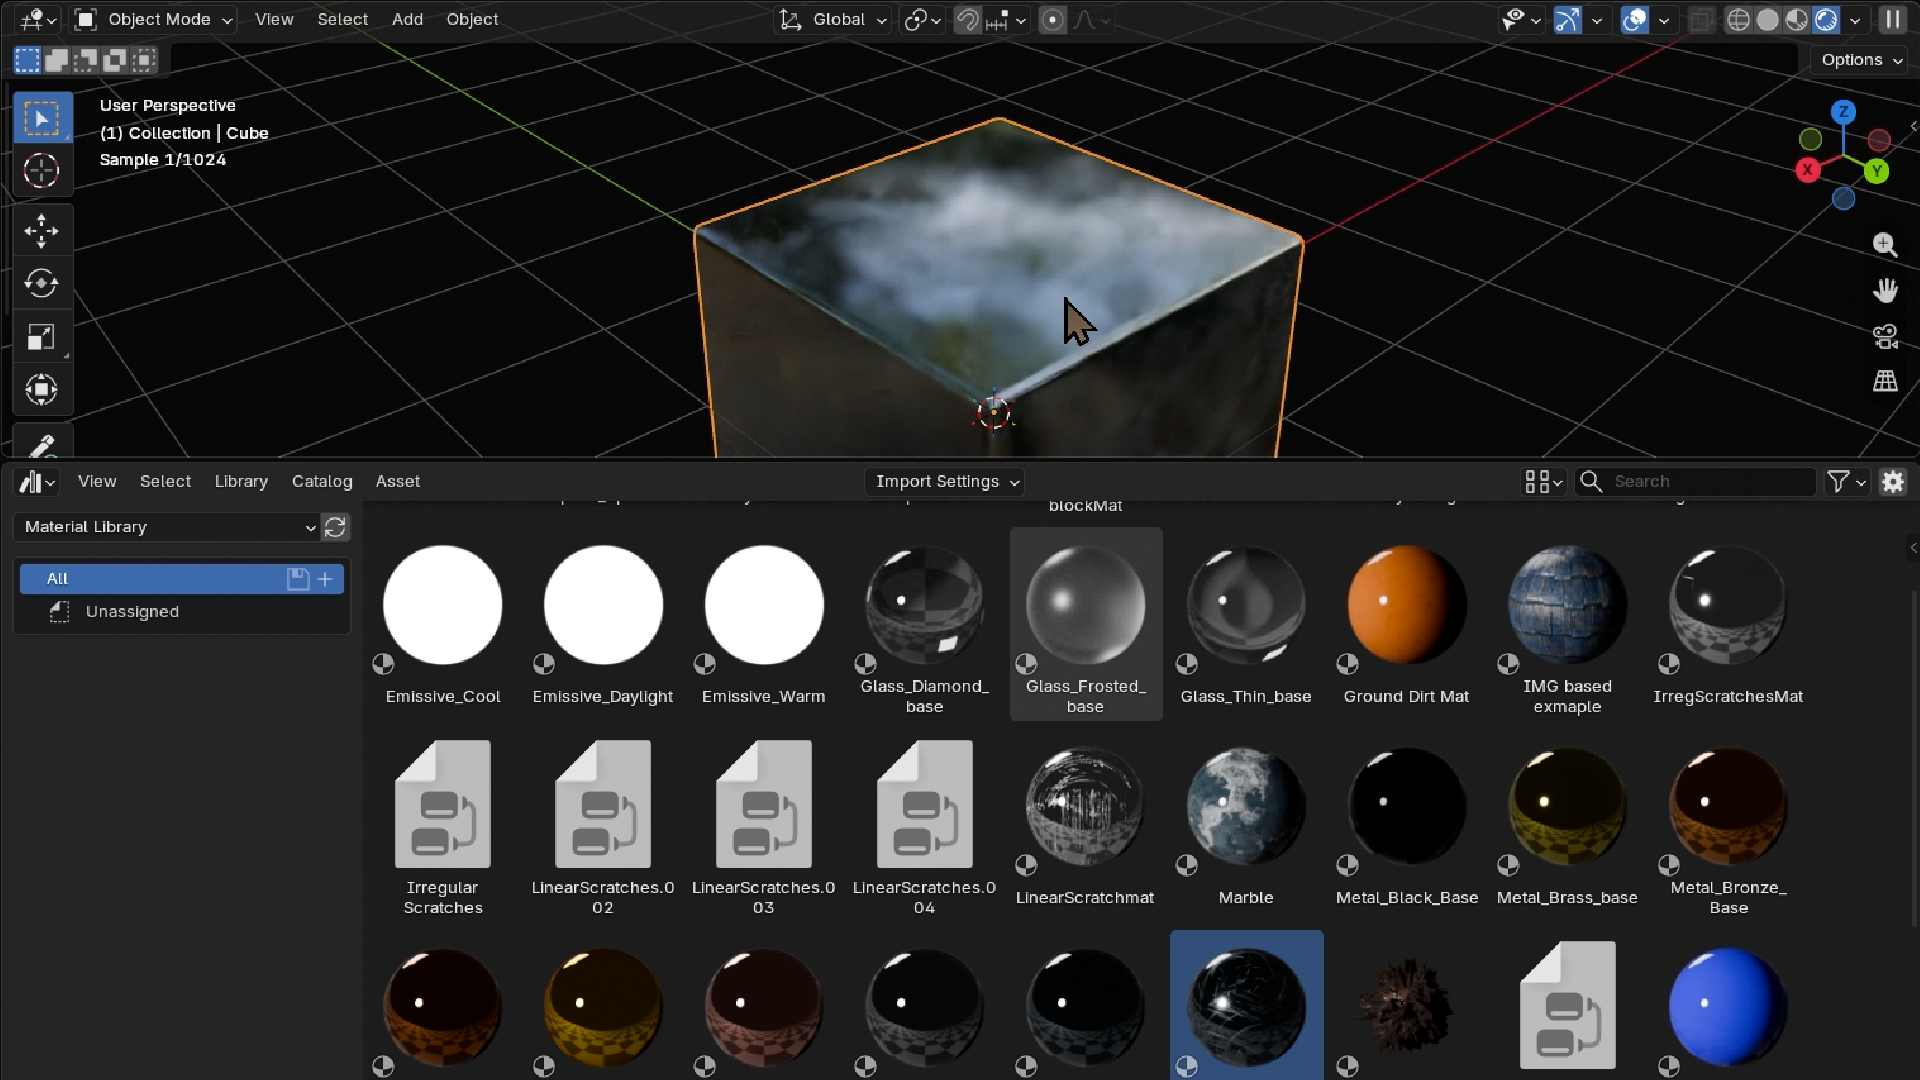
Scratches, dirt, wear and a little imperfection are what make a render believable, and materials are where it all happens. You’ll start with Blender’s Principled BSDF and build your own drag-and-drop library of metals, glass, plastics and glowing lights in the Asset Browser.
Turn a Grey Blockout Into a Photoreal Scene
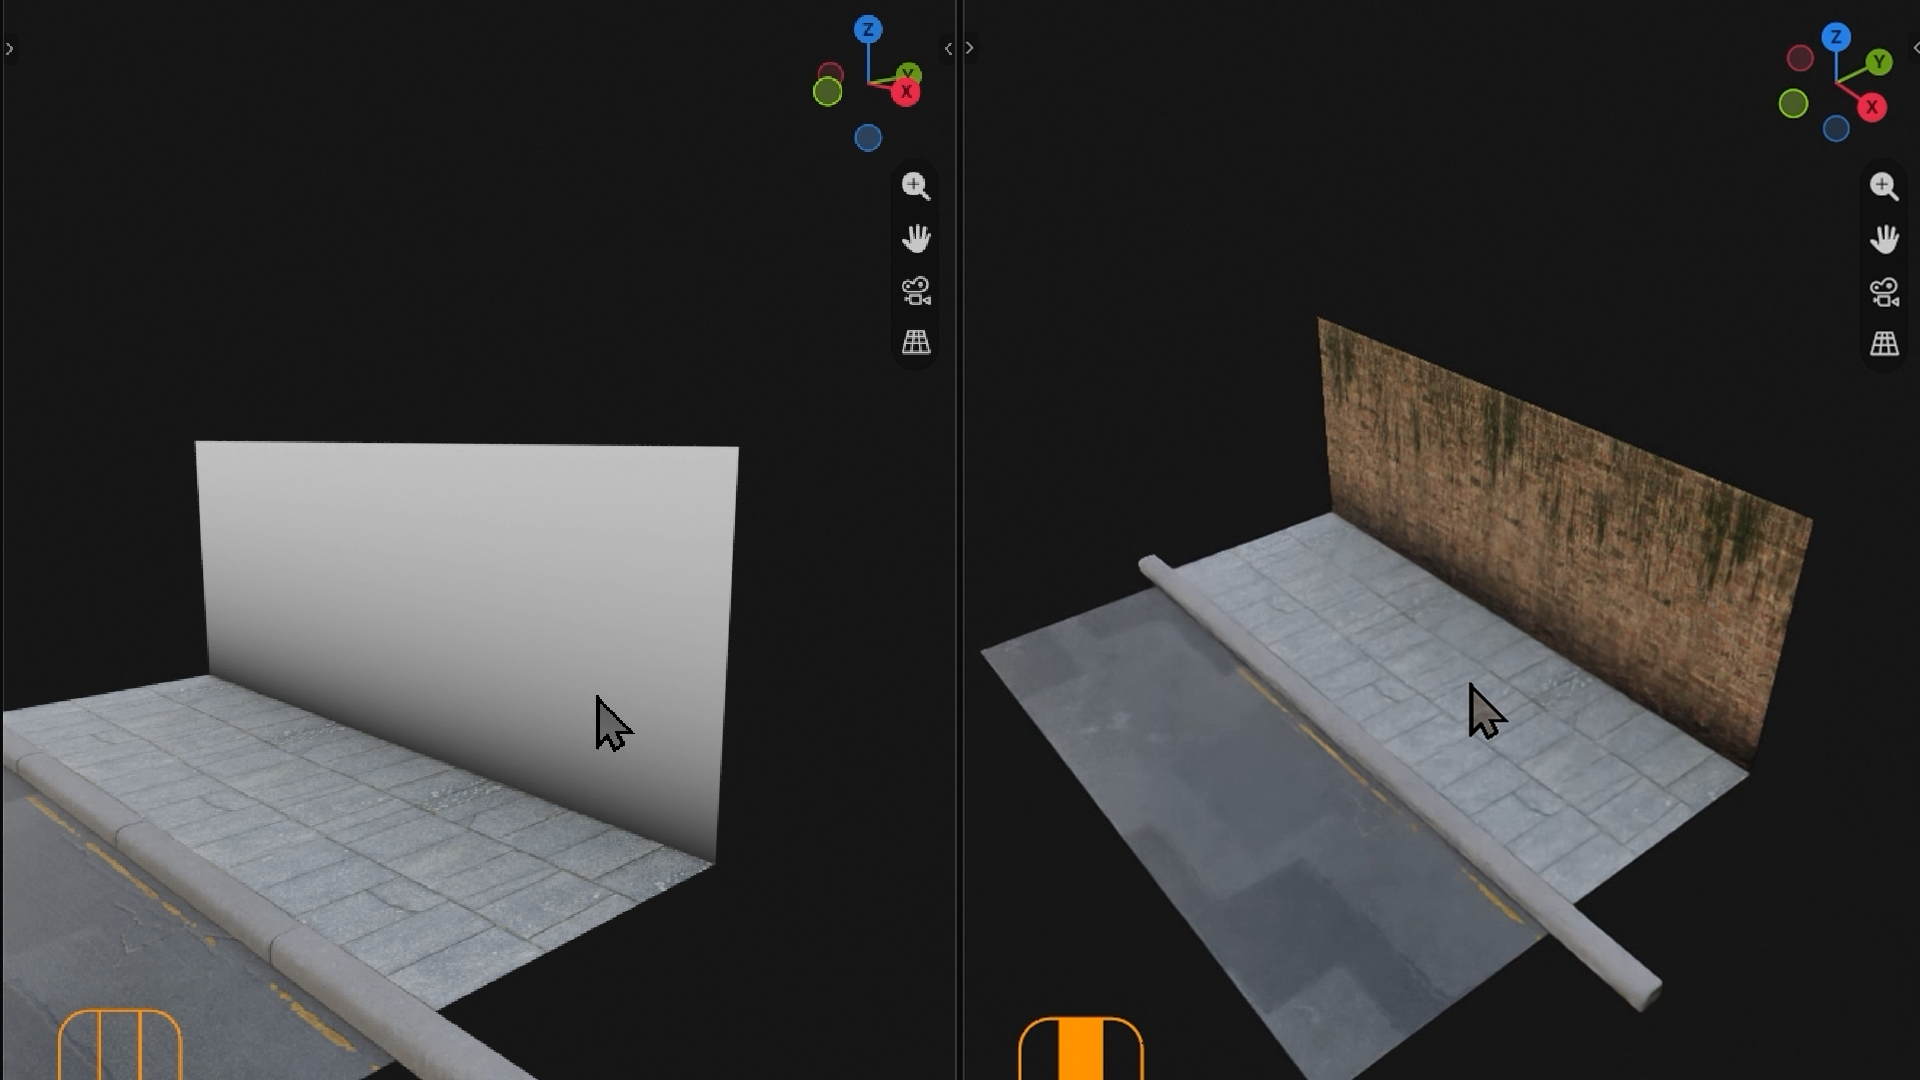
With the right materials, a grey blockout can pass for a photo.
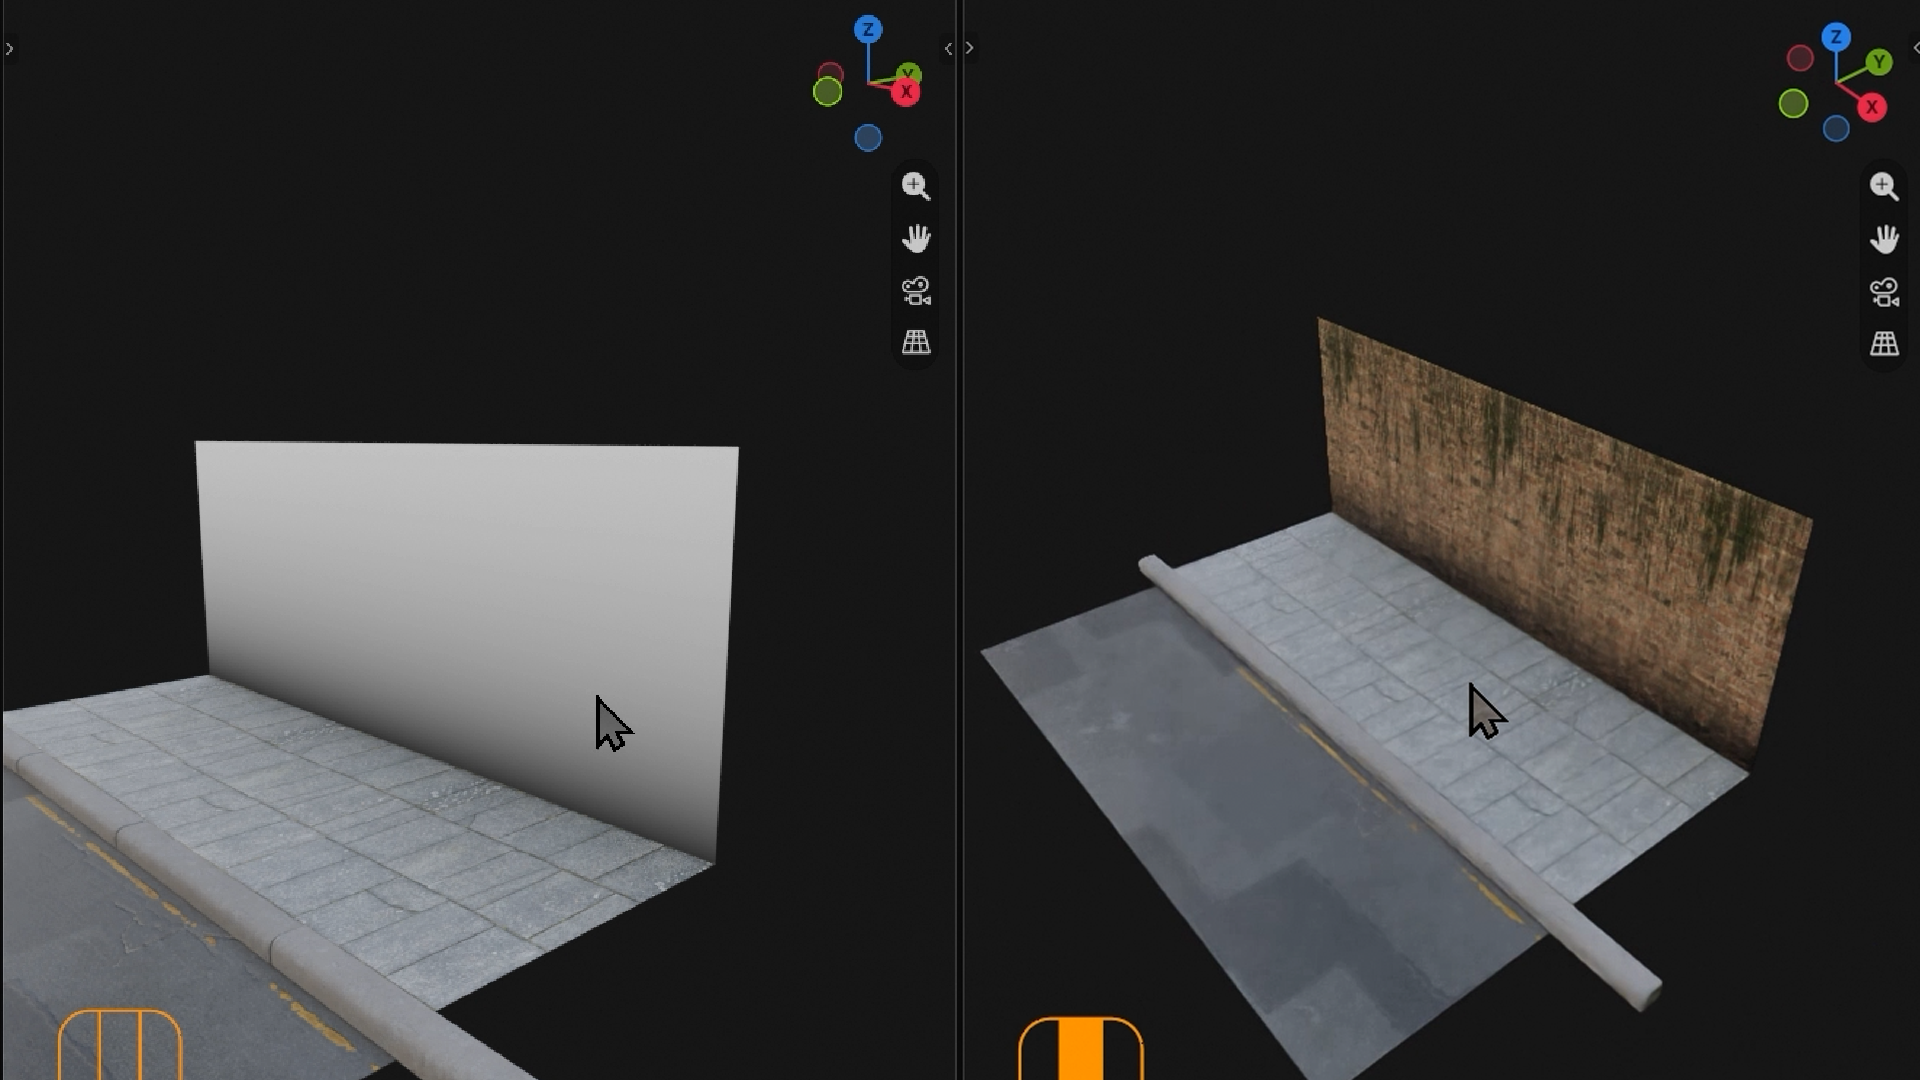
You’ll texture a street corner with PBR image sets, fix scale with the Mapping node, and vary every kerb with Random Per Island. Then come layered dirt, graffiti, scattered leaves and a shadow map that fakes trees just off screen, until it looks almost like a photograph.
Build Tools You’ll Use on Every Material
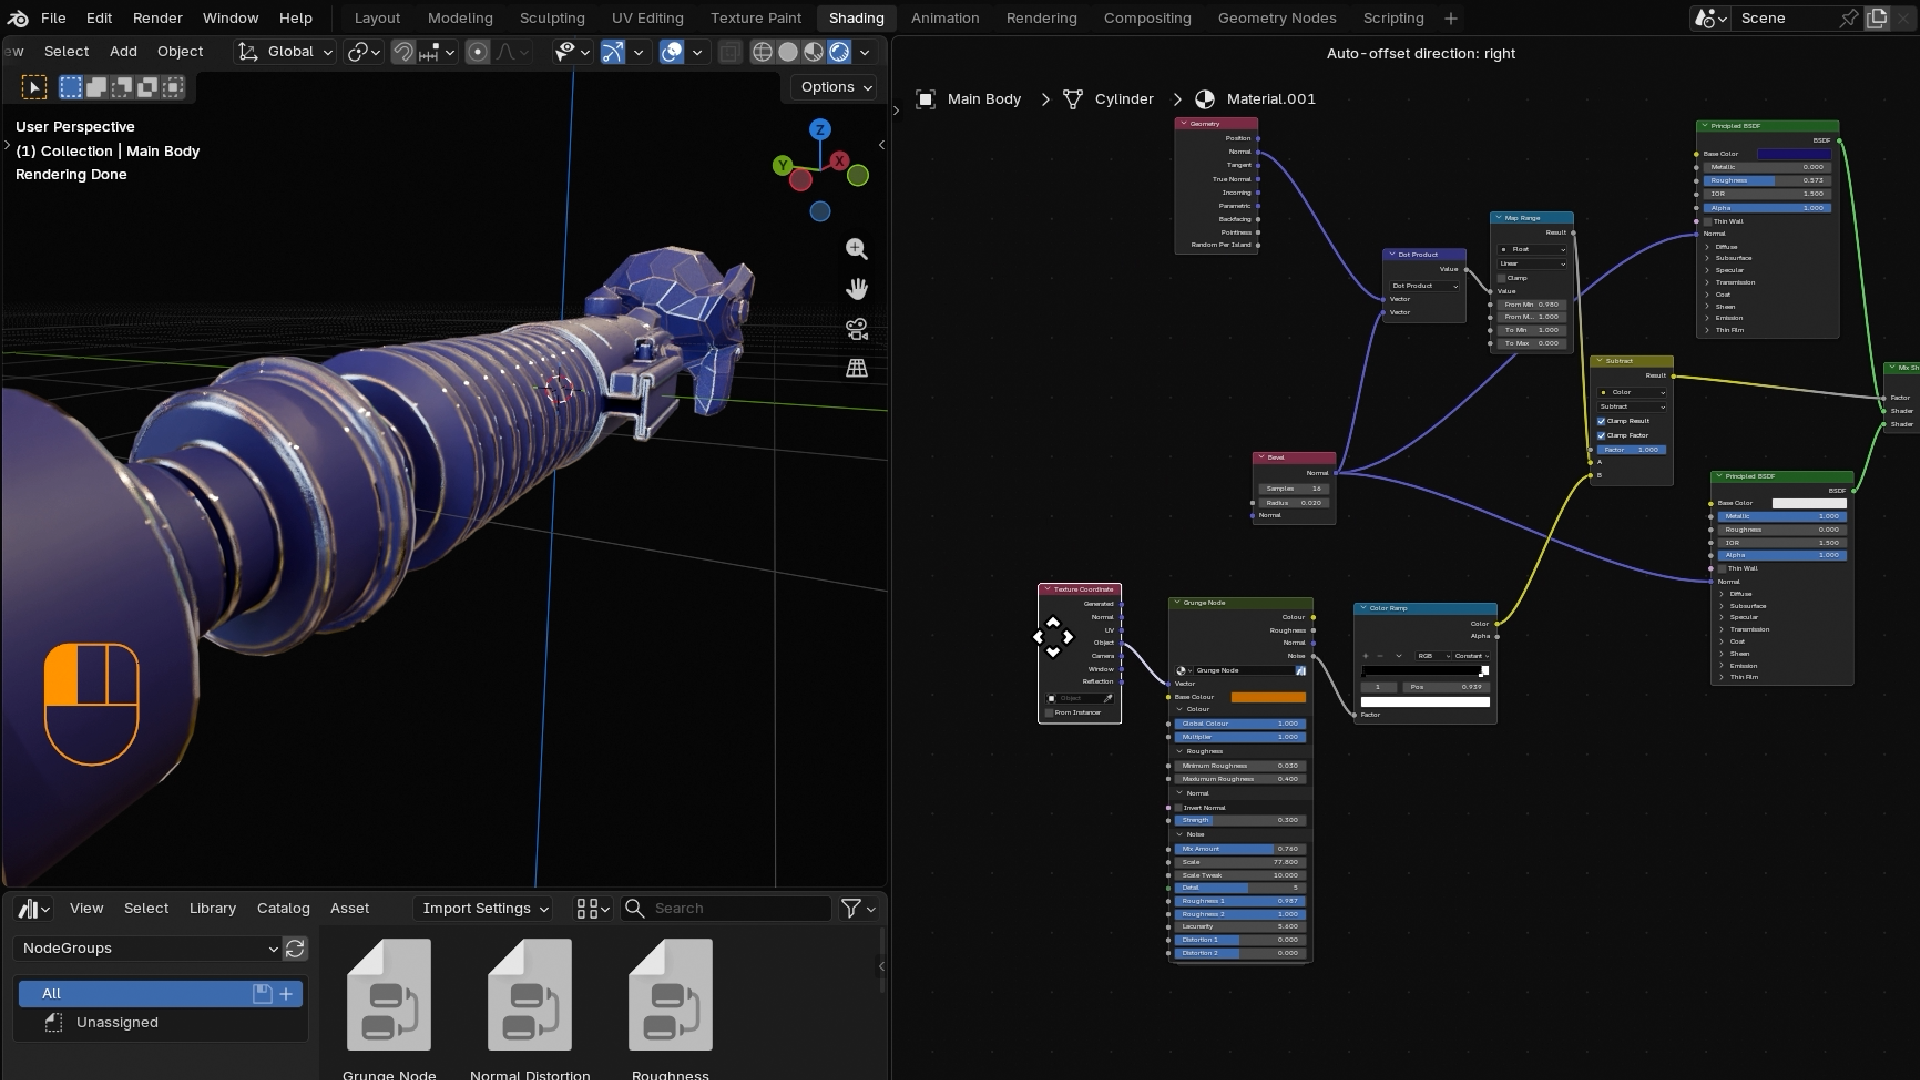
Here’s the shortcut: build your effects once, then reuse them everywhere.
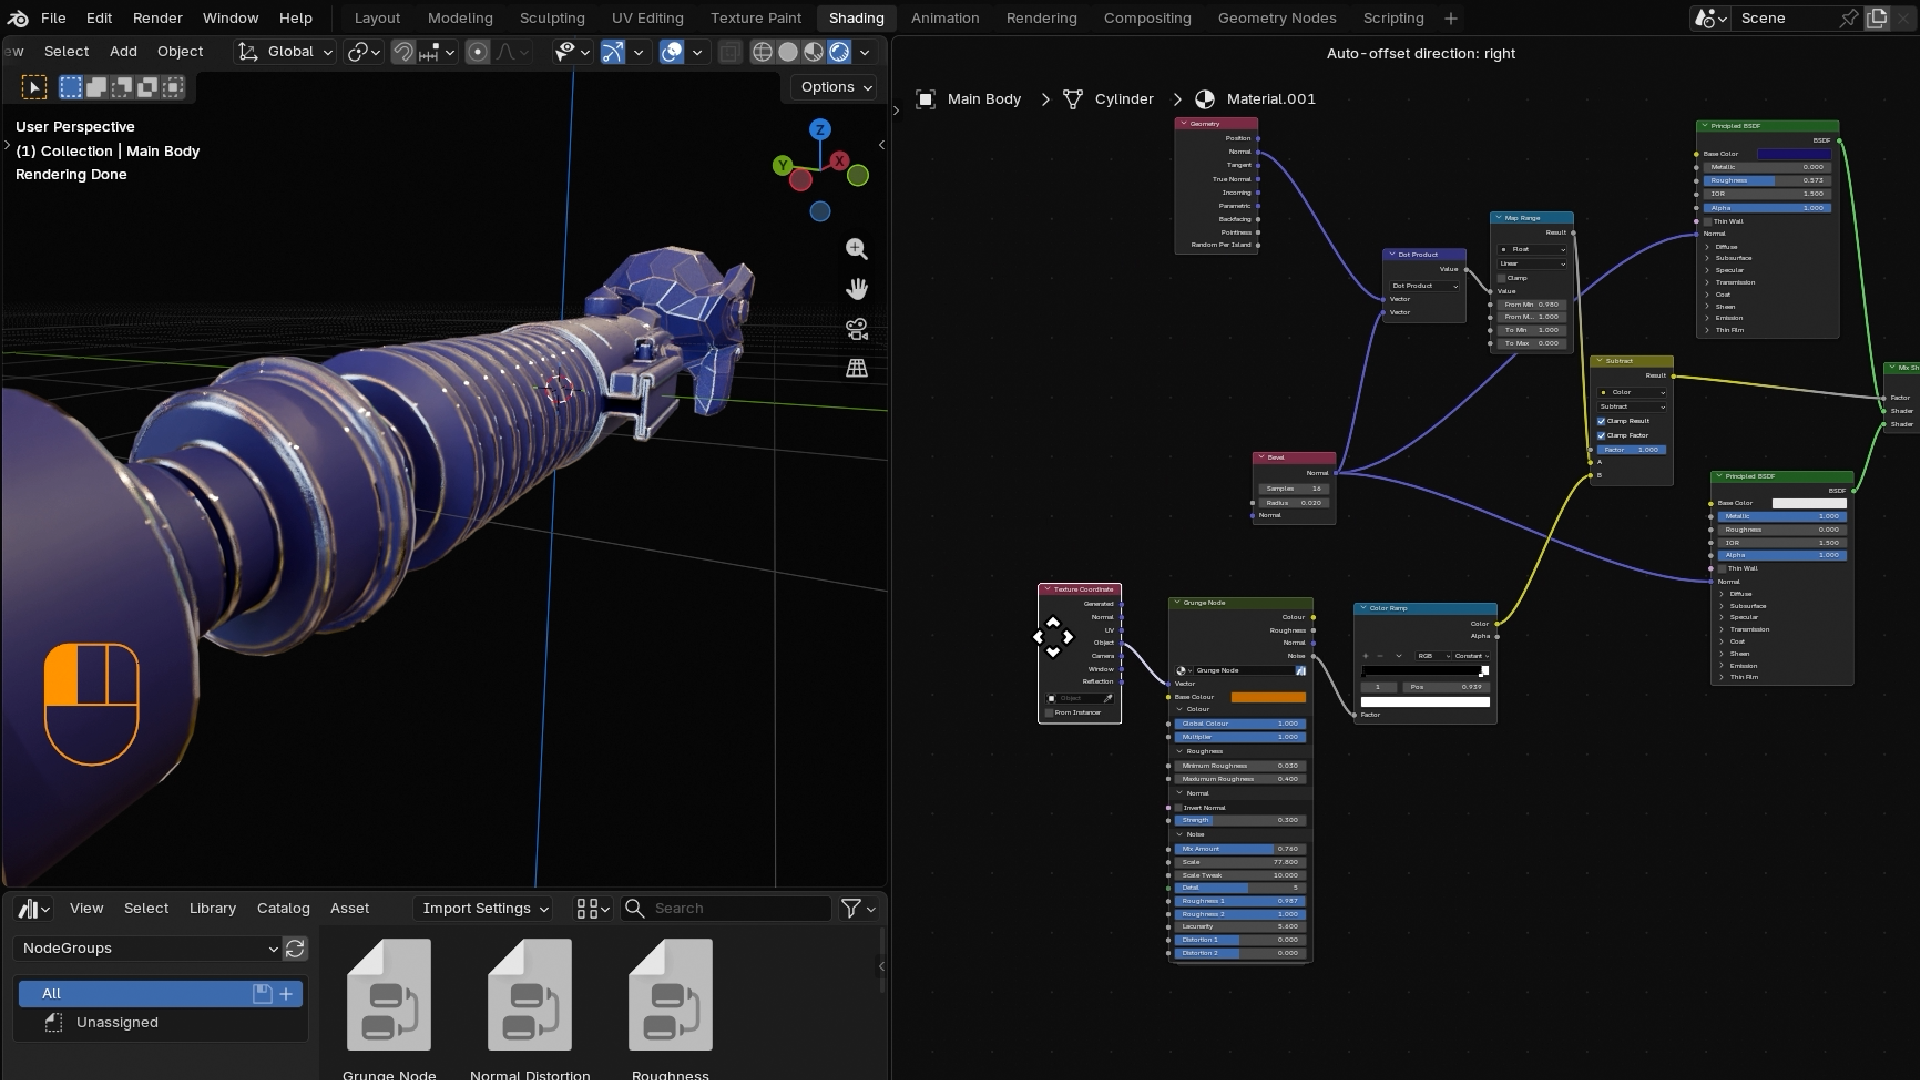
You’ll create your own custom node groups for UV distortion, roughness, grunge, layered scratches, edge wear, and cavity and ground dirt, all published to your Asset Browser. Tile Anything even turns a single photo into a large surface with no visible repeats.
Recreate Real Surfaces From Reference
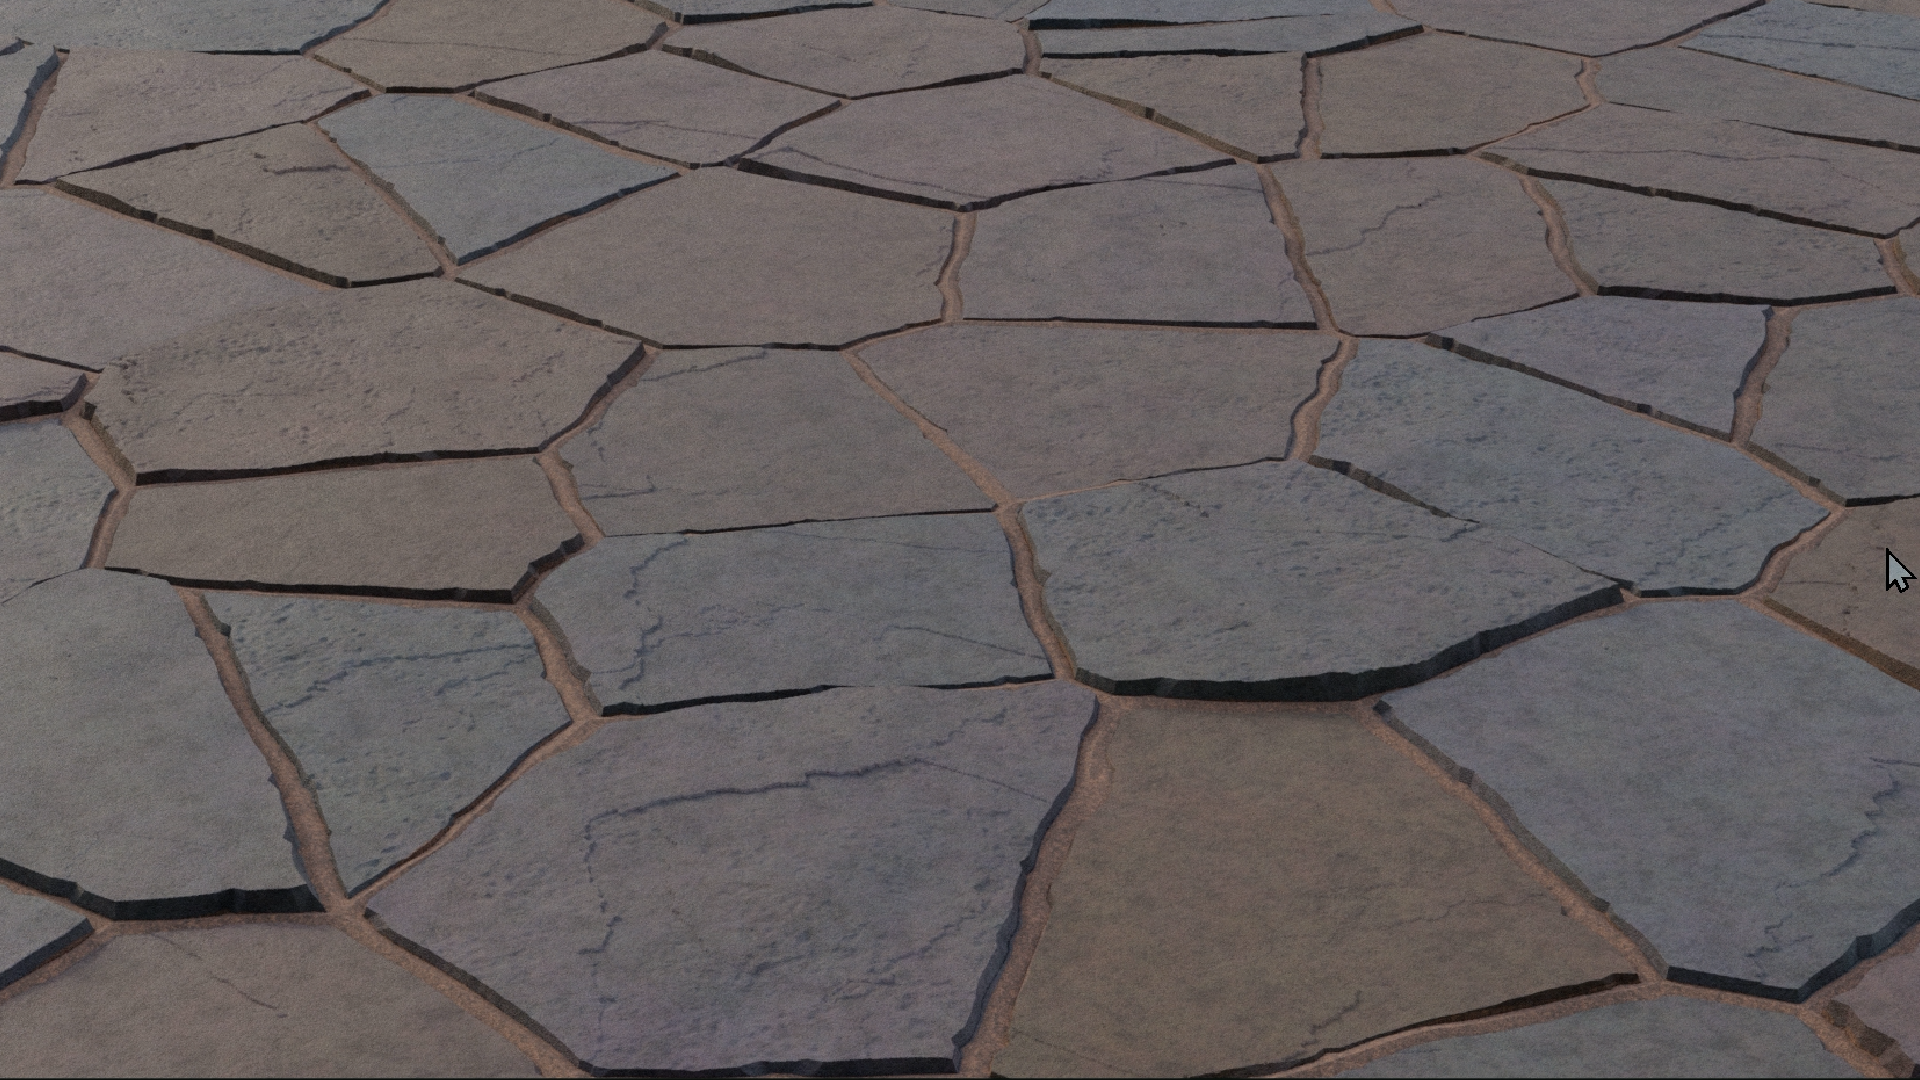
Car paint with glitter flakes, mud with puddles, and crazy paving.
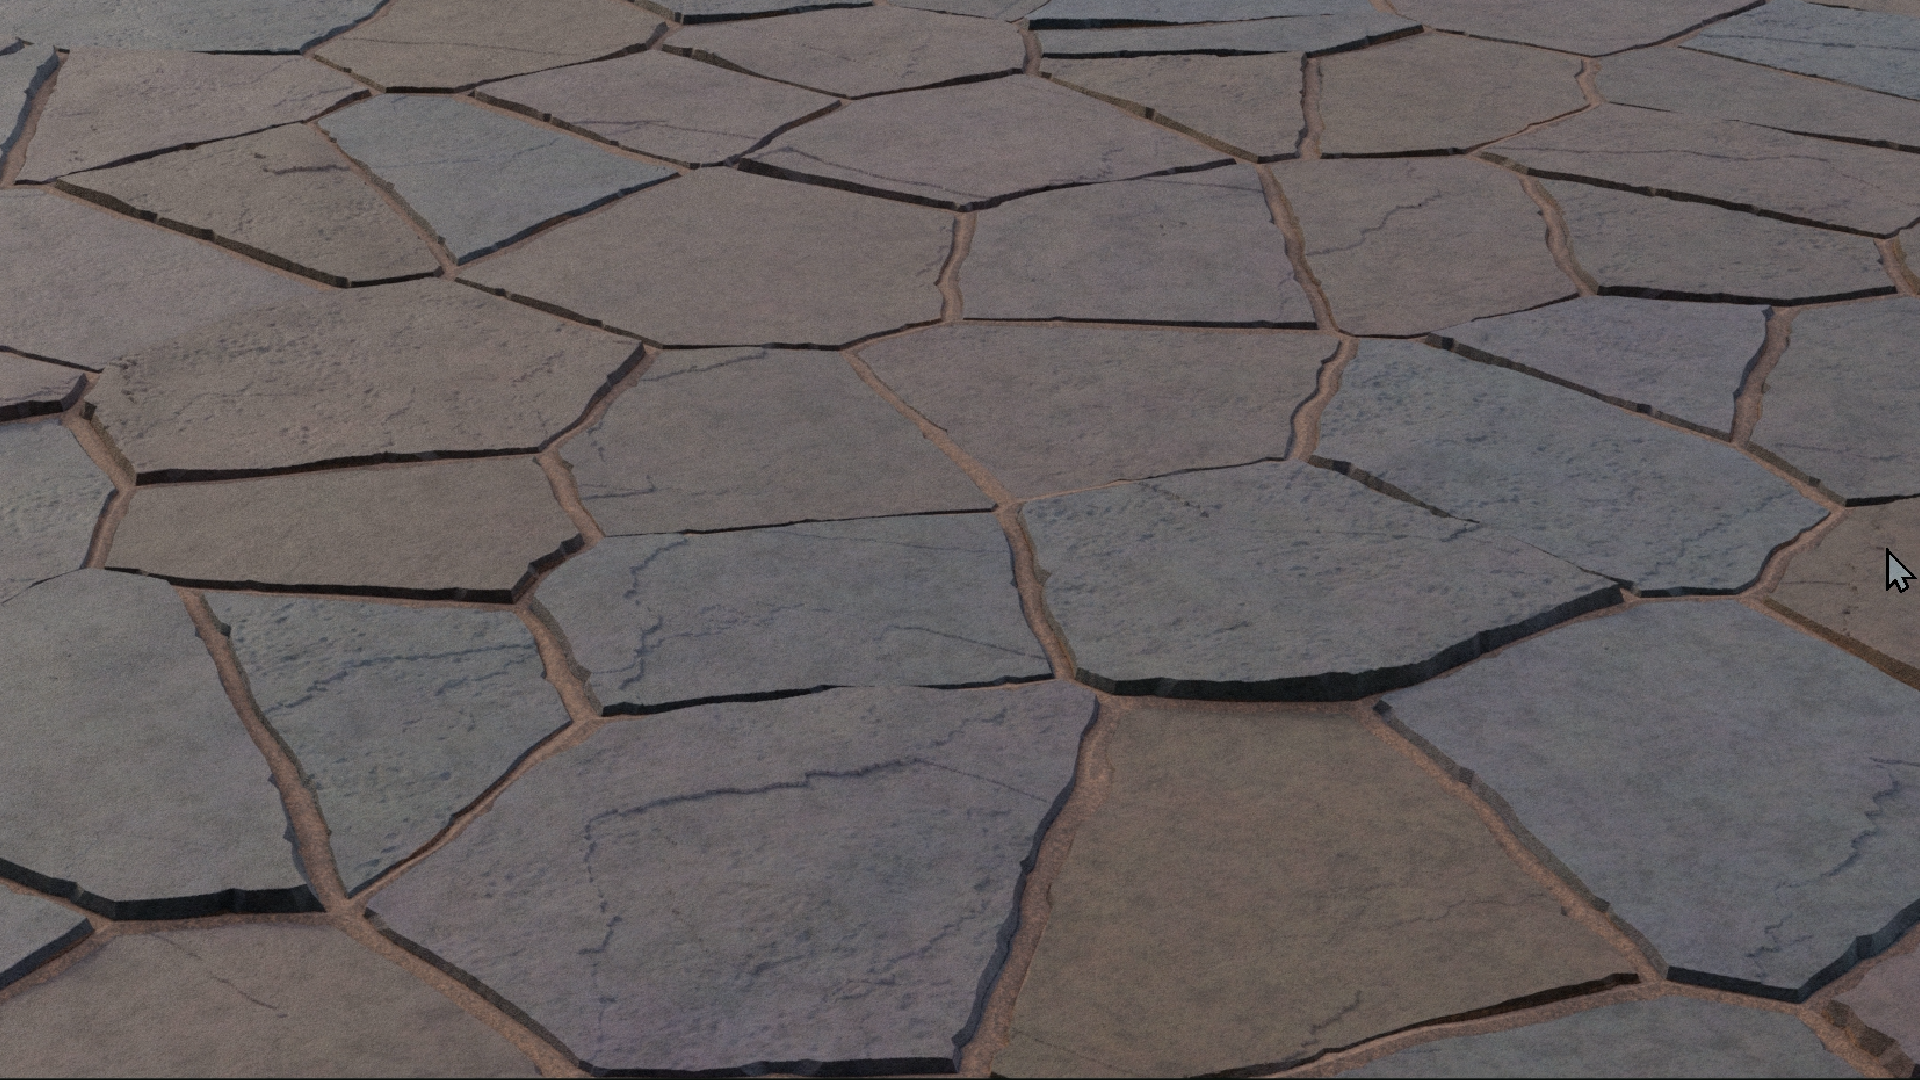
Working from photos, you’ll build concrete, granite, diamond plate and tiles procedurally, with the maths behind each pattern explained as you go. Each one gets packed into a node group with sliders, so you can dial in a new version in seconds.
Dial In Endless Variations From One Material
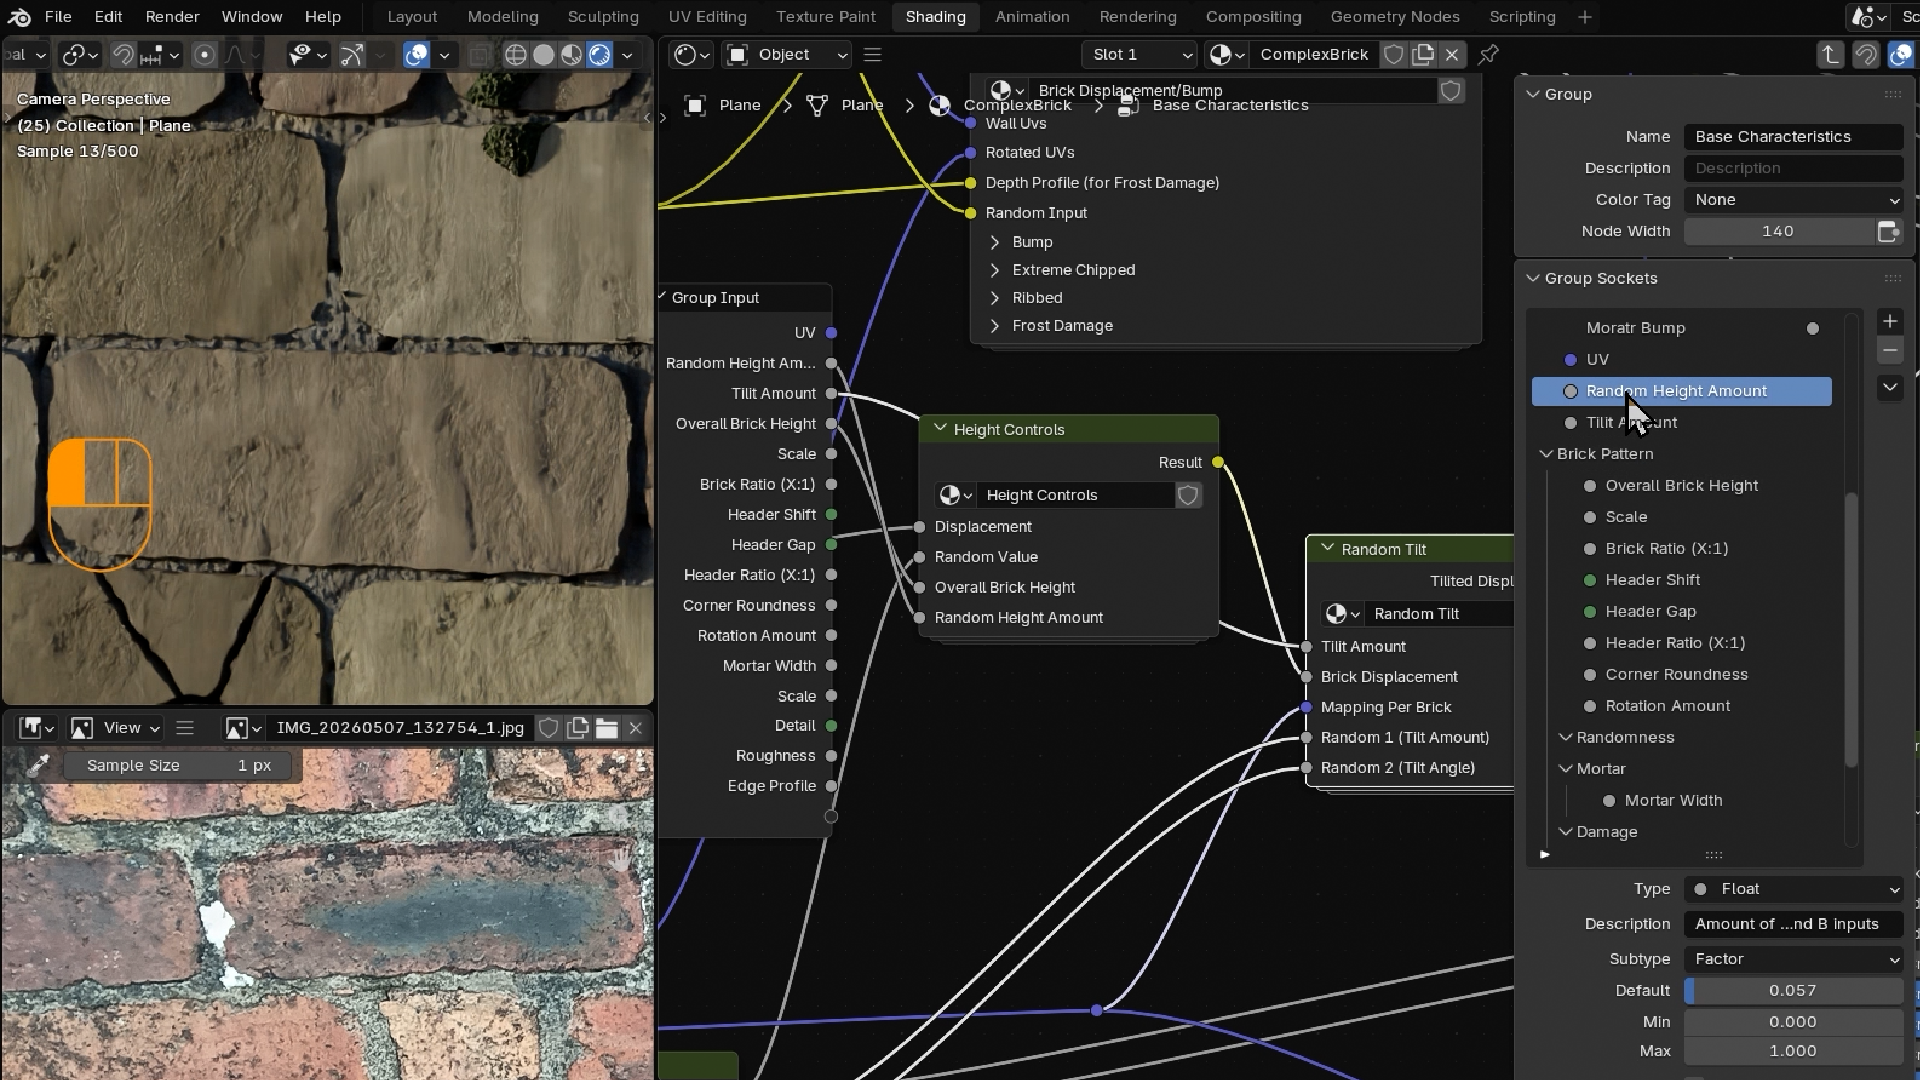
One brick wall material, controlled entirely by sliders.
Header rows, cracks, frost damage, lichen, moss, drips and wetness build up layer by layer, then collapse into a handful of panelled node groups. By the end, you’ll know how to design systems that generate endless variations, and you’ll have a whole library to show for it.
What you’ll learn
Build a library of realistic Blender materials you can drag and drop onto your models.
Create custom node groups that add scratches, dirt, grunge and edge wear in seconds.
Recreate real surfaces from photos, from concrete and granite to mud with puddles.
Texture a street scene with PBR images, decals and dirt until it looks almost real.
Design a procedural brick wall with sliders for cracks, moss, lichen and wetness.
Get to know every Principled BSDF setting, from clear coat to subsurface scattering.
Turn maths into patterns with gradients, Voronoi and rounding for tiles and paving.
Tidy sprawling node trees into panelled groups that are a joy to use and reuse.
30 Day Money-Back Guarantee
100% refund, no questions asked.Lifetime Access
Access your content on any device, at any time.Teaching Support
Never get stuck with our teaching assistants on call.About the course
Want to build a brick wall material where one slider adds moss, another adds frost damage, and a third makes it look wet after the rain?
Blender’s node editor can look like a tangle of noodles at first. Once you understand the principles underneath, building materials becomes far more fun than it looks.
You’ll start with the Principled BSDF and a drag-and-drop material library, then texture a street scene using images. From there, you’ll build your own toolkit of custom node groups and put it to work on a run of procedural materials, each one recreated from real-world reference.
Along the way, you’ll cover thin film and subsurface scattering, UV and object mapping, normal maps, texture coordinates, Voronoi patterns, rounding maths, displacement in Cycles, and node groups with tidy panelled controls.
Reference photos, textures and an HDRI are included, plus snapshots of the brick wall’s node tree in case yours gets away from you. Your instructor, Stephen, sets a challenge in most lectures and shows his own fixes on camera. And if you get stuck, our teaching assistants and community are there to help.
Environment and prop artists, and anyone making game assets in Blender, will find tools here to use on every project.
By the end, you’ll have a growing library of materials and tools of your own, and the know-how to keep adding to it.
Ready to start building your library? Let’s get started.
Curriculum
Instructors

Stephen Woods
Hi, I’m Stephen – great to meet you!
I fell in love with 3D art in 2005 when I began using 3DS Max in 2005 while studying Film-craft and Animation. A few years later I moved onto Maya and Lightwave while completing a degree in Computer Animation. I discovered, despite a love of animation and filmmaking, that creating 3D art was the career for me.
While taking time off to be a stay-at-home dad to two brilliant boys, I discovered Blender and explored every aspect of this amazing content creation software, from modelling, lighting, texturing, rendering, and compositing to animation, video editing, VFX and recently, geometry nodes. Transitioning from Max and Maya to Blender as my primary production tool.
Since discovering GameDev.tv’s awesome Unity courses many years ago, I’ve also caught the programming bug and recently completed a second degree in Computing and IT with Design, where I mostly concentrated on Design Thinking and innovation, Python, Java, and C# programming, Software Engineering and Web Technologies.
I’m honoured to now teach Blender for a living, creating several courses over the years. I just couldn’t be happier that I now work with GameDev.tv to bring you more Blender courses that will inspire you to level up your 3D art, whether for games, illustration, or animation.